Turns out pulling the engine gave me quite a bit of motivation.
Things I've ordered since the last post:
- Not-cracked 23" front wheel from an XR250 (basically the same bike)
- All Balls Racing tapered roller style steering head bearings
- Tusk front and rear wheel bearing kits
- Rear brake cable, undetermined brand
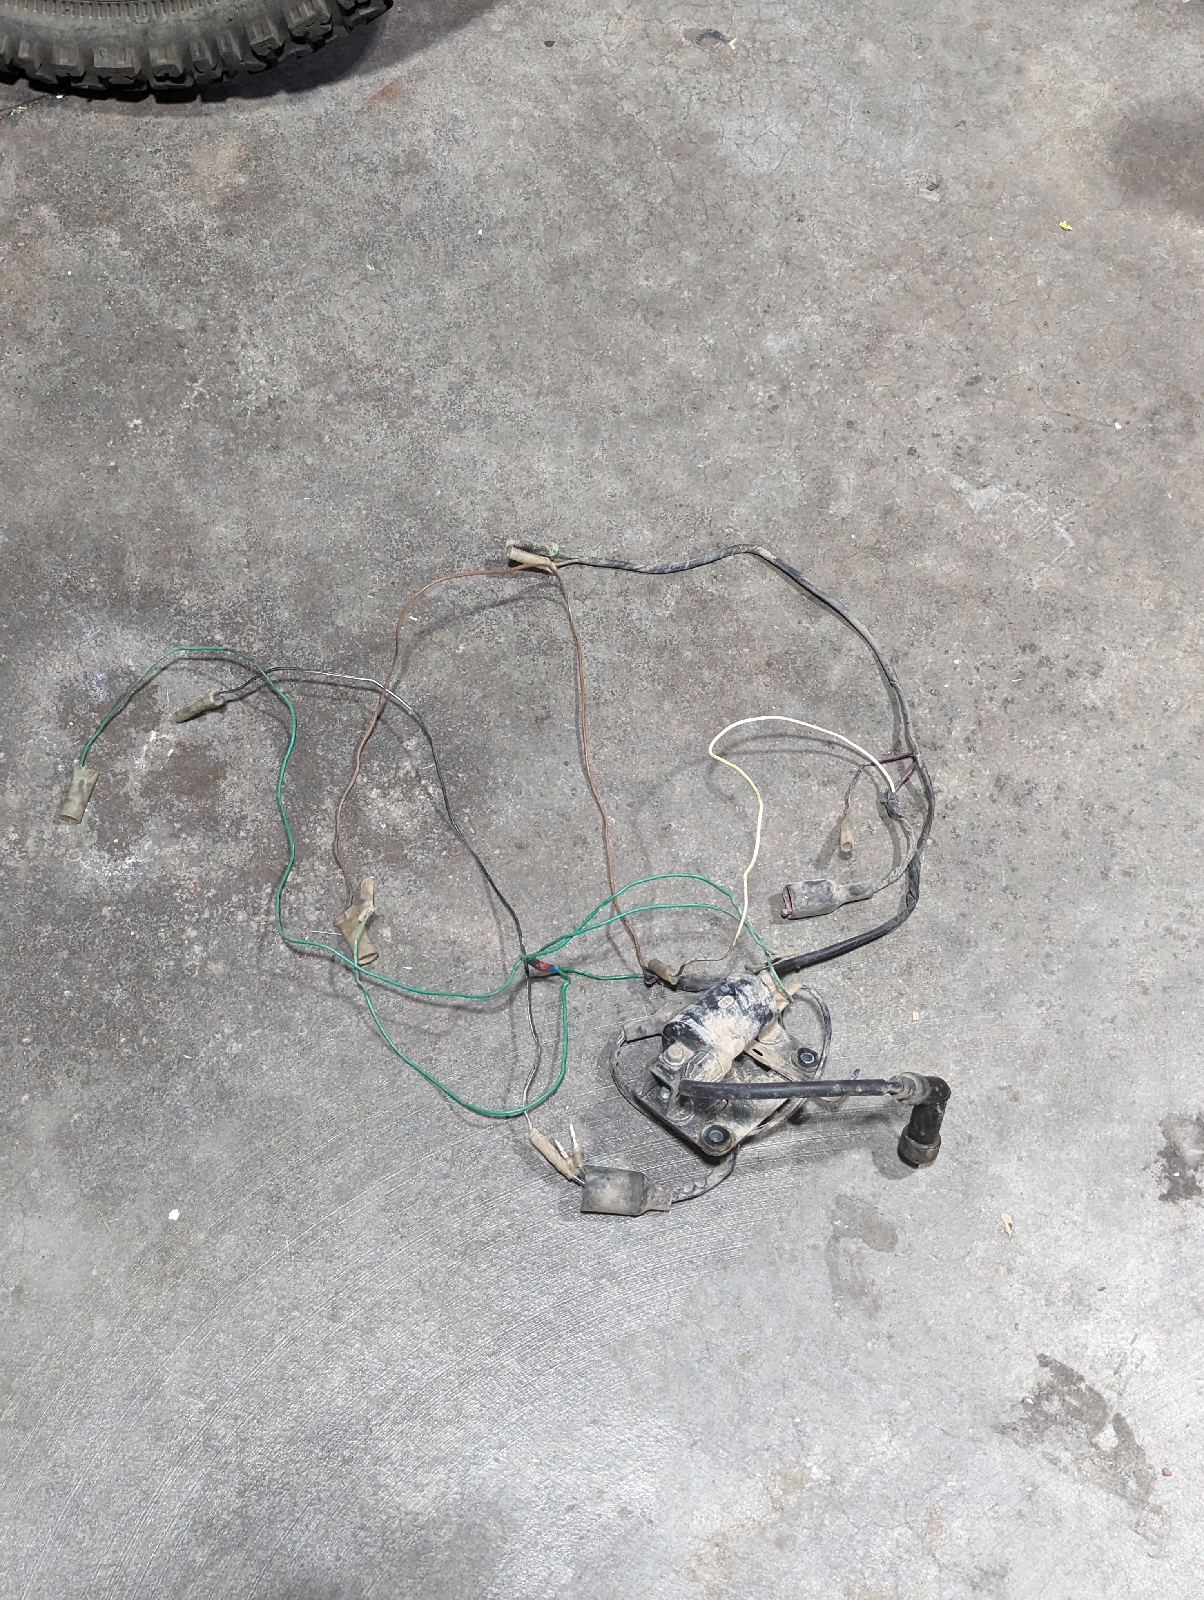
- Trail Tech 12V regulator/rectifier
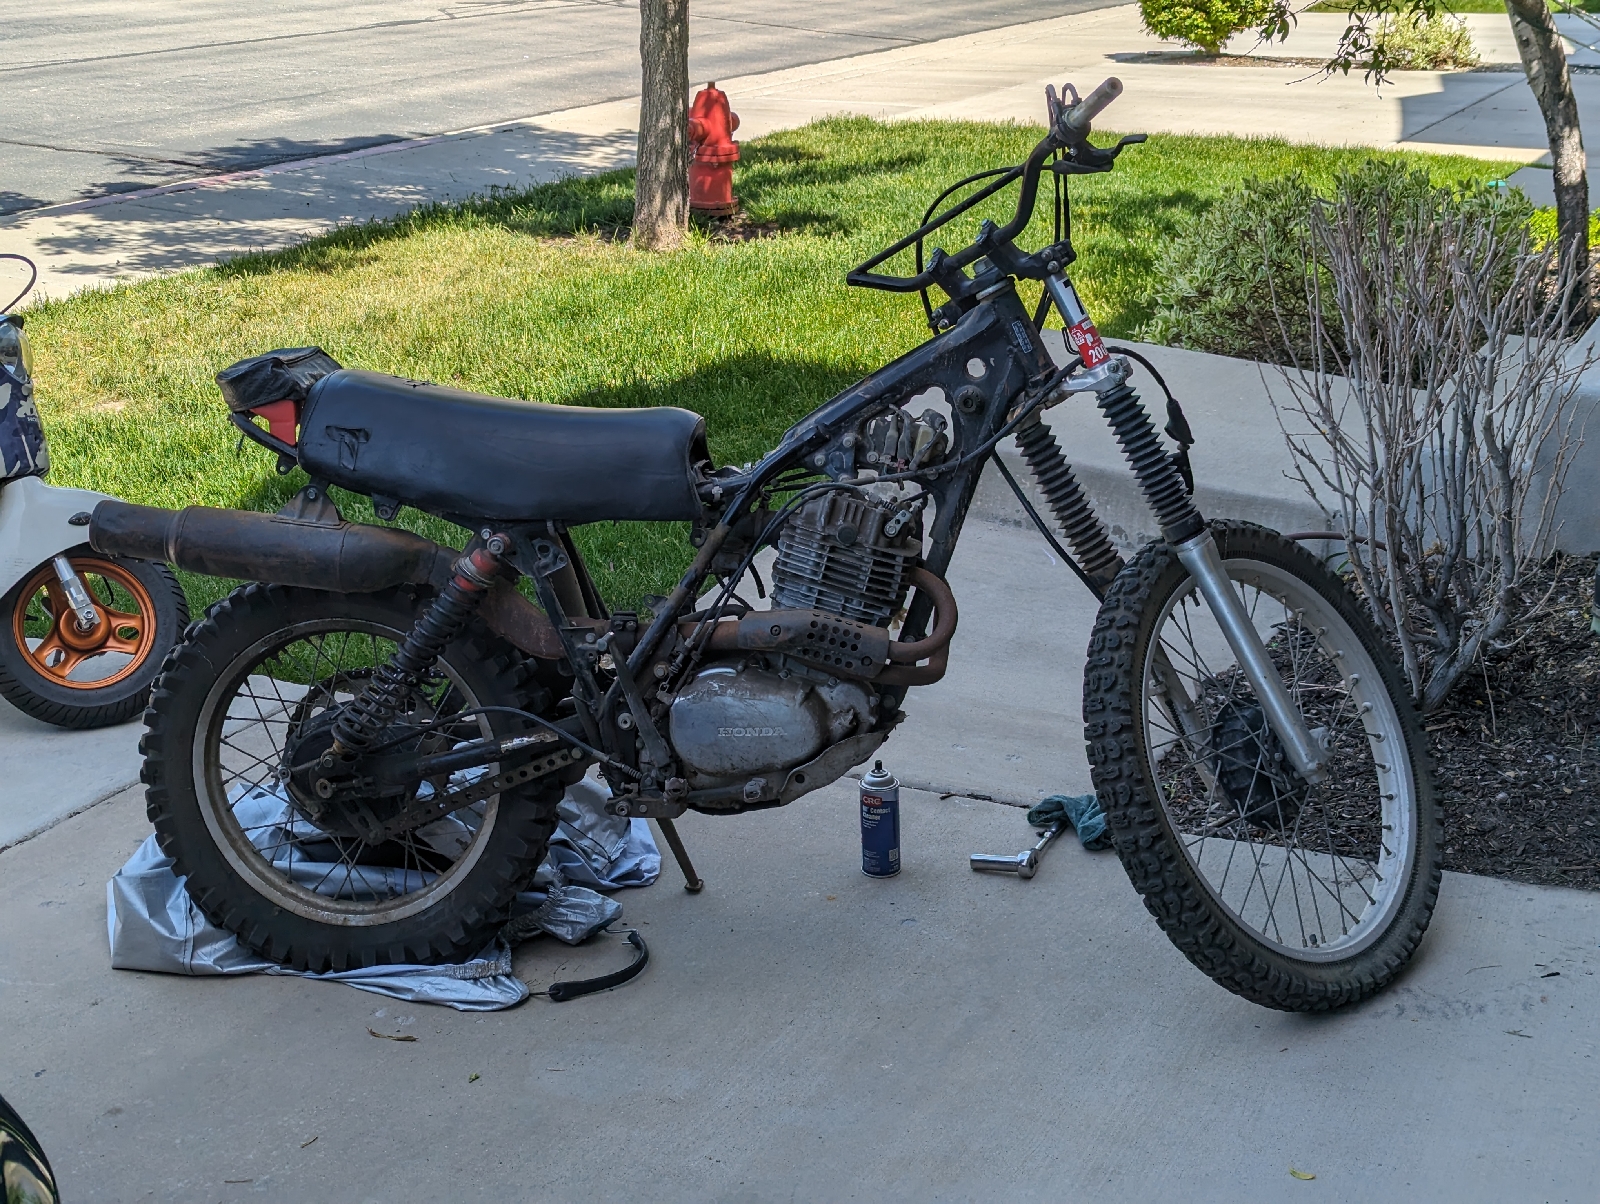
My eldest and I stripped the bike down to a bare rolling chassis with just the shocks, forks, and wheels installed, loaded it into the minivan, and went to town on it at the local DIY carwash:


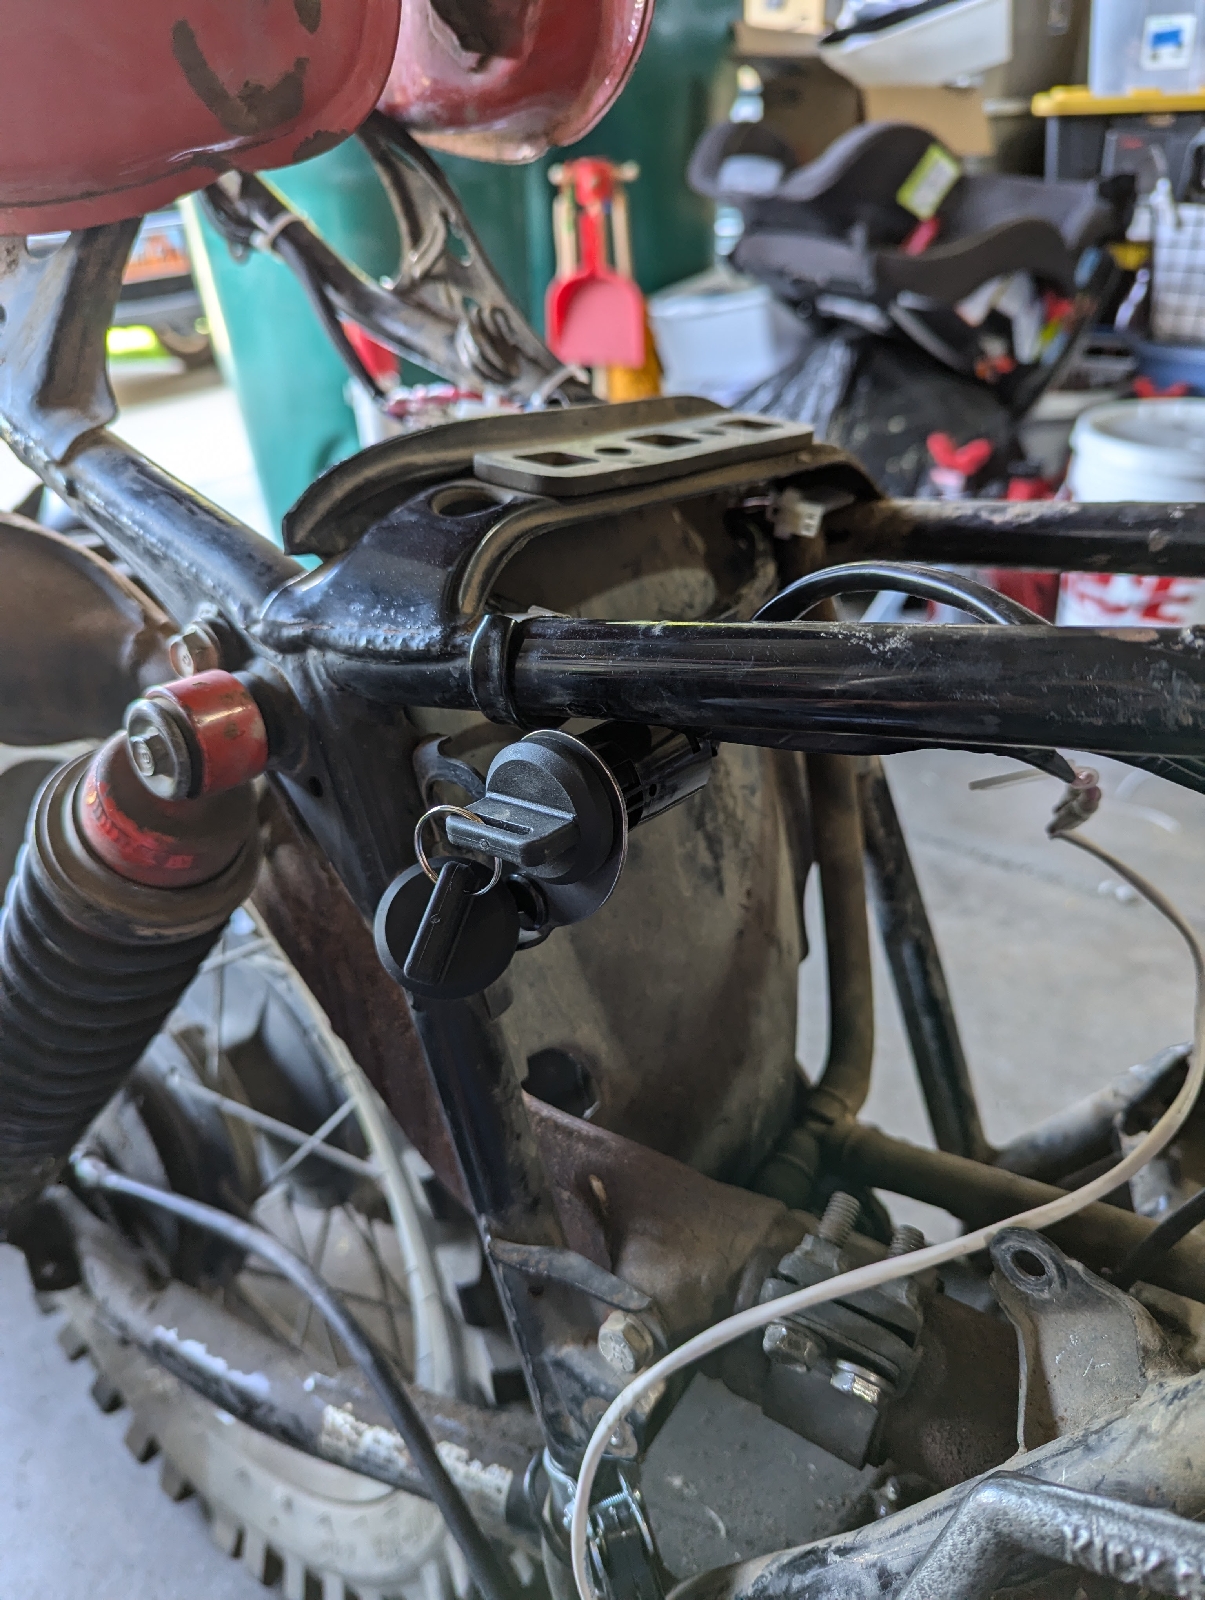
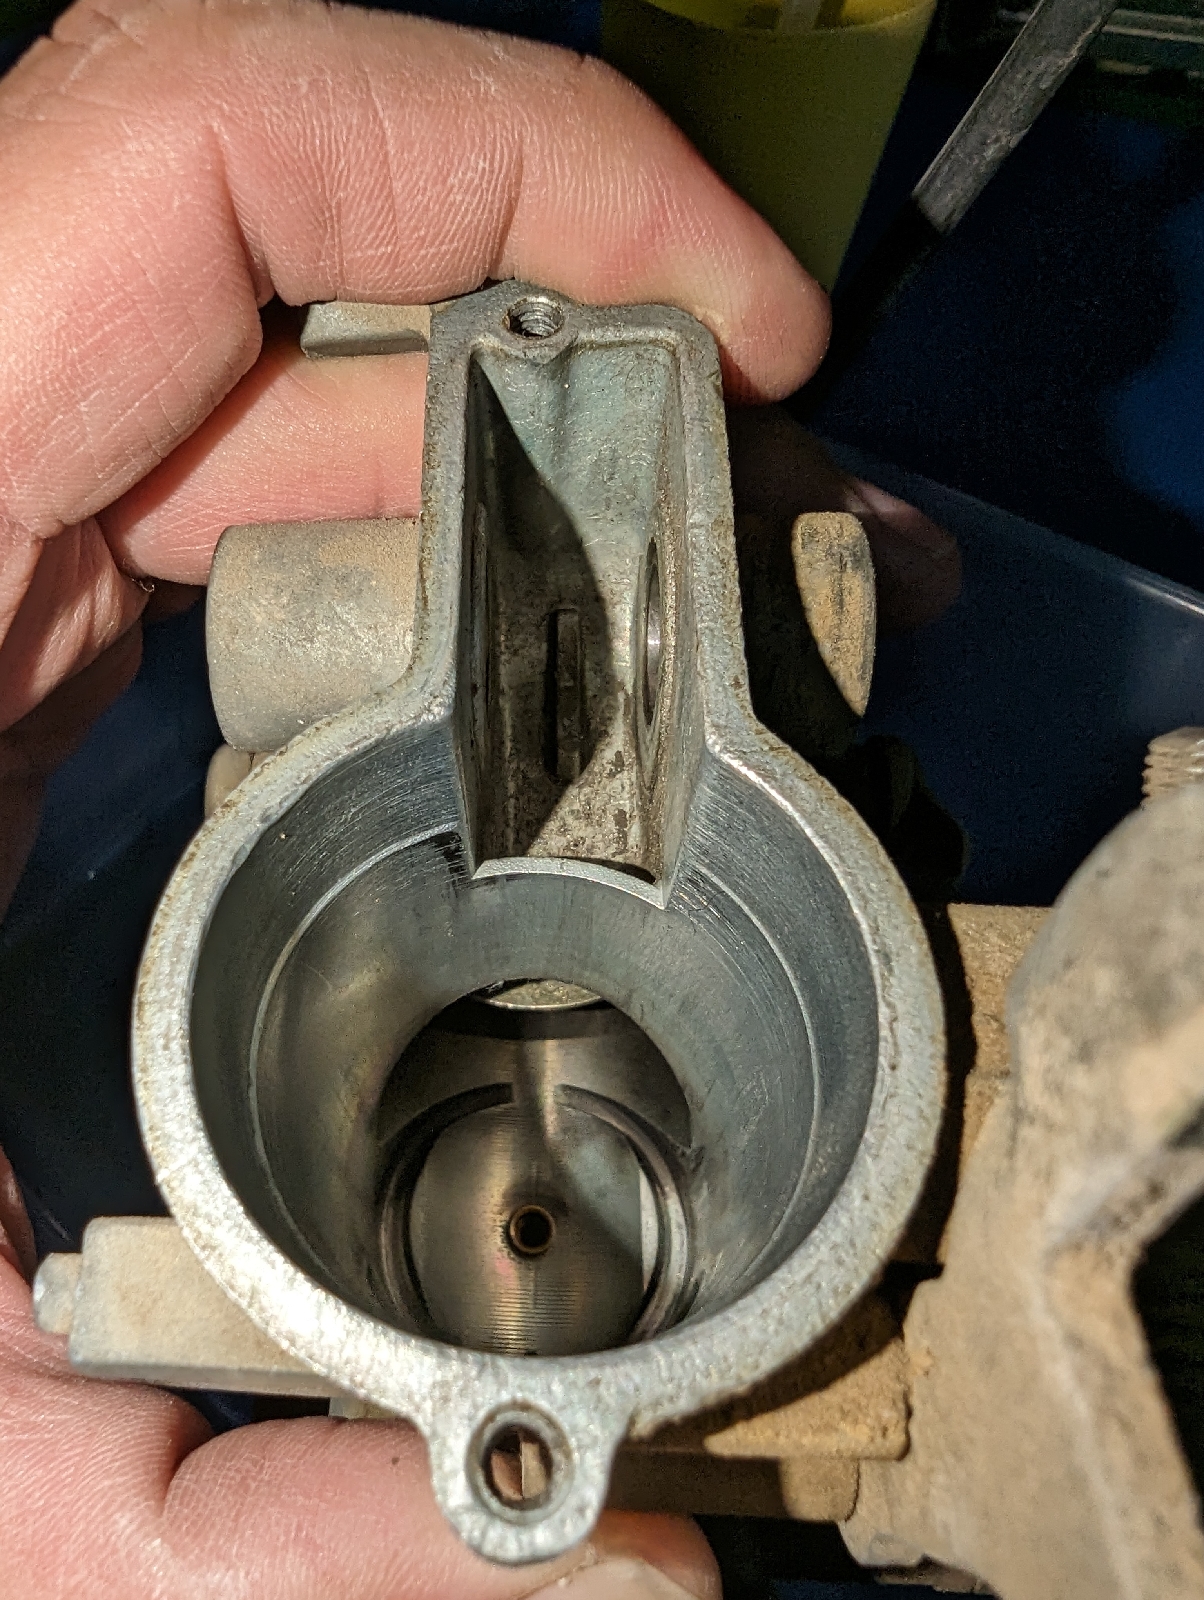
No matter though, because I ended up tearing the bike completely apart. I had pulled the front wheel off to see if the XR250 drum would fit on the XR500 hub (it does, but the XR500 drum has cooling fins, so I'm gonna swap it over), and decided to keep pulling the front end apart. I pulled the triple tree (fork clamps), only to discover that the bearings did not have a cage - they all fell out. Whoops. No going back now.

Did you know that an A-frame ladder and some ratchet straps makes for a great temporary motorcycle hoist? I didn't know that until recently. Wouldn't recommend it for heavier bikes, but for a sub-300lb dirtbike, it works well.


All of the loose parts are labeled, and smaller parts such as bolts, brackets, and whatnot are also bagged.
I reached out to a couple places for quotes on blasting and powdercoating, we're looking at around $250-300 all said and done, but the steering stop tab on the front of the head tube needs to be fixed before that happens.